The last I was here, I let you all know I would be heading to the track for the weekend, and that I had tons to do to get ready. I shined my shoes, and then I made everybody new shirts for the occasion. You see, I wanted us to have race-themed duds, but they don’t really make what I was looking for. I wanted something a bit cryptic to the uninitiated. So I set to designing something unique for each of us using Illustrator, and shopping for quality shirts for Husband and myself.
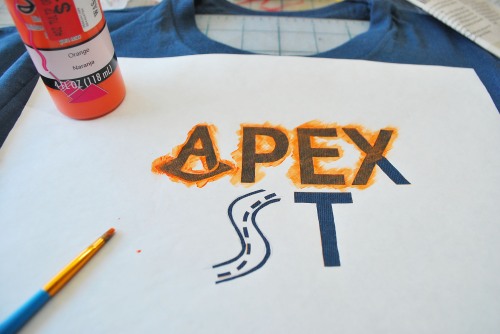
I made fabric stencils once before, when making Son’s Transformer Police costume, and since I shared in detail there, I won’t repeat all the steps here. Instead, I’ll give you the short version. Create your design, print your design out onto freezer paper, cut out the design, and iron it onto your fabric.
The last time, I used a puff-paint style fabric paint, that I painted on with a brush. It worked well, but was time consuming. So this time, while looking for paint in the fabric paint aisle, I picked up some fabric spray paint. With that in mind, I made sure to go an extra step after ironing on my paper stencils; I masked the extra area off with news papers.
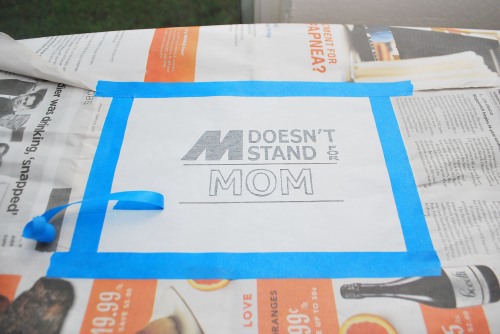
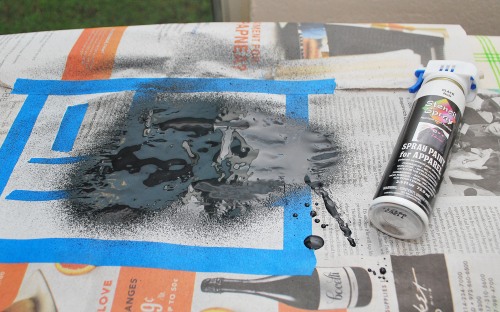
The above design was created for Son, and since I wanted it to be two colors, I needed to mask it off even more. I taped off the areas that I wanted to spray another color, and then shot the whole thing with Stencil Spray spray paint for apparel…
The paint was incredibly thick, and over-spray went everywhere.
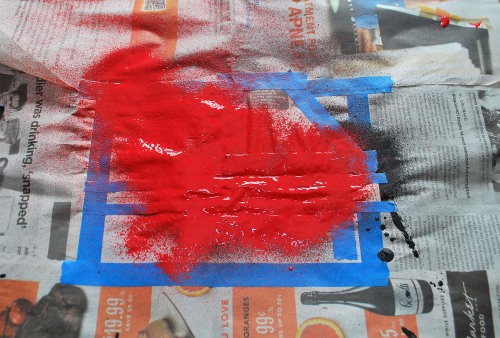
While it was drying, I went ahead and sprayed Son’s other shirt with orange paint. And once the black paint had dried completely, I masked it off, and sprayed the stencil with a red Stencil Spray paint.
After it dried for a few hours, I pulled off the news paper masking…
You can see in the photo above, that the paint was thick, very thick. I was a little worried. And then I carefully removed the freezer paper, and saw this…
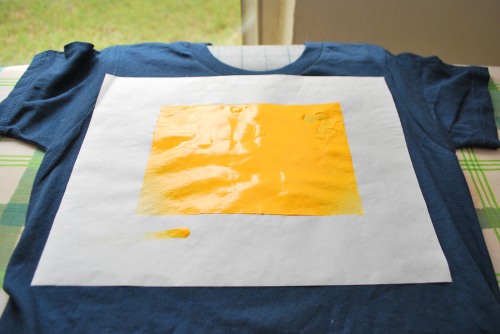
Not only was the orange too yellow, the paint looked terrible! I couldn’t let Son go to the track in that. So I went back to the store, bought another orange paint, in the puff-paint style, and another shirt, and tried it by hand…
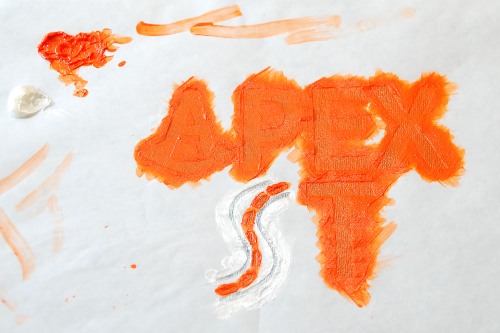
That was after one coat. Obviously, this was going to take time. Around eight coats later, I had this…
I let the paint dry fully, and then removed the paper.
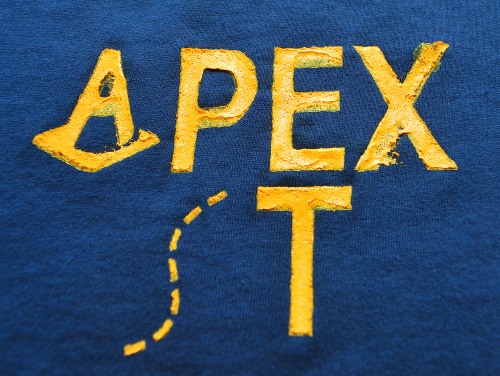
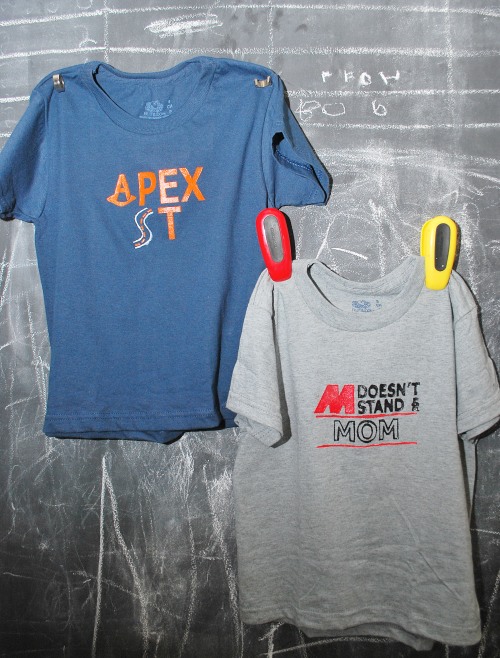
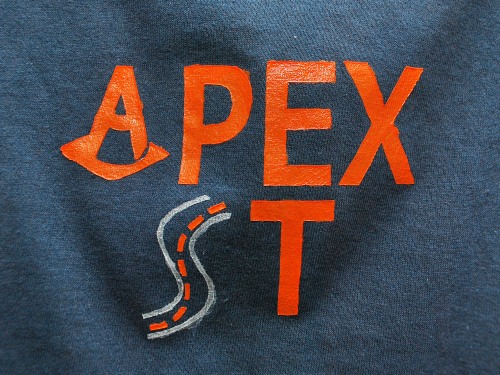
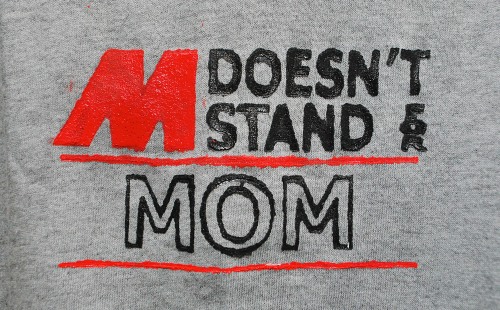
Son’s shirts were awesome. I was so pleased. A little about the designs…
The Apex is the tip of a curve, and the point you want to touch with your car in order to take the most efficient line through the turn.
And M is a BMW designation to separate their regular line from their sport-modified line. Since this was a BMW event, the shirt was a huge hit.
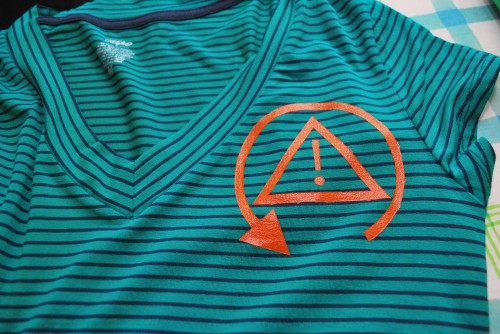
And finally, I’ll share the design from my shirt, which I also hand painted…
I decided to go with the “Traction Control” light for my shirts, placing one on the shoulder as shown, and then a larger once on the hip of another shirt.
And Husband’s shirts? Well, his design was an M inside of a circle, which is a programming button included on all M model cars. His shirt took a million coats of paint because I tried to go with another brand of sprayable paint, which I decided not to spray because it was worse than the Stencil Spray I used above. Since the paint was thinner, it didn’t work as well, and I didn’t finish his shirt until 11 pm the night before. That would be why there was no picture.
In the end, we got lots of compliments on our shirts, but no one asked for me to make them one. I also now know NOT to use any of those spray fabric paints, and to instead just use a brush and the puff-style paints. I’m still very happy about them. I think they are something we may begin to wear as regular shirts, and not just Track apparel. Yay!

love the pic with the t-shirts pinned up against a chalk wall. Is that wall made of metal… don’t hold out on us share! Share! Share!!
David,
That chalk board is actually our garage door. I love it! You can see more details here.
I like how you used the M on the shirt. Your shirts came out very cool!!